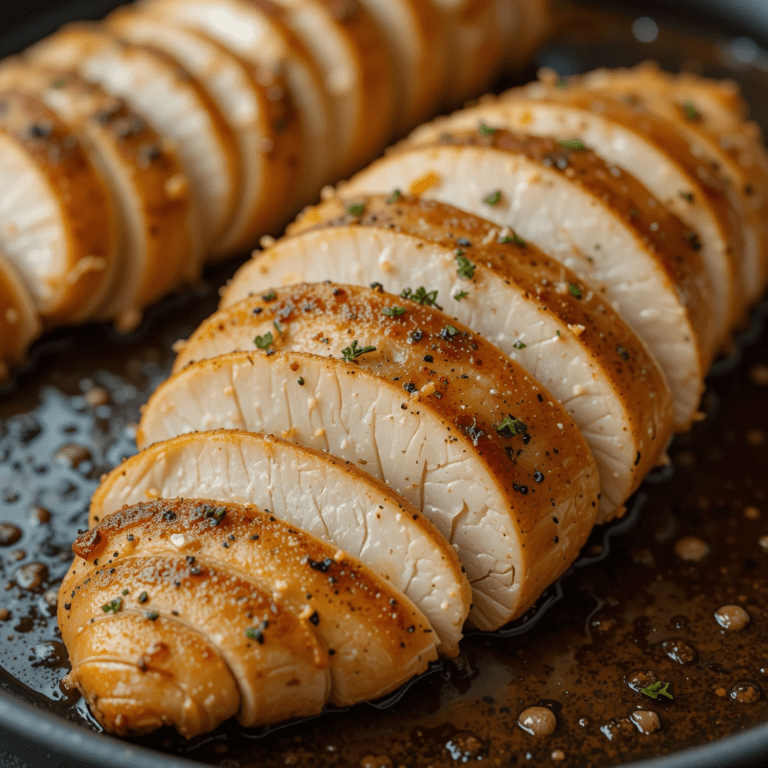
Thin-sliced chicken breast is a fantastic option for anyone looking to prepare a quick, healthy, and versatile meal. Whether you’re cooking for a busy weeknight dinner or meal prepping for the week, this cut of chicken is a reliable choice. In this guide, we’ll explore why thin-sliced chicken breasts are so popular, how to cook them perfectly in the oven, and some tips to ensure they turn out juicy and flavorful every time.
Why Choose Thin-Sliced Chicken Breasts?
Thin-sliced chicken breasts have become a staple in many kitchens for several reasons:
- Quick Cooking Time: Unlike whole chicken breasts, which can take longer to cook, thin-sliced chicken breasts bake in a fraction of the time. This makes them perfect for those nights when you need to get dinner on the table fast.
- Even Cooking: One of the biggest challenges with whole chicken breasts is ensuring they cook evenly. Thin-sliced chicken breasts, however, have a consistent thickness, which means they cook uniformly. This reduces the risk of some parts being overcooked while others remain undercooked.
- Versatility: Thin-sliced chicken breasts are incredibly versatile. They can be used in a variety of dishes, from salads and sandwiches to wraps and stir-fries. Their mild flavor also makes them a great canvas for a wide range of seasonings and marinades.
How Long to Cook Thin-Sliced Chicken Breast in the Oven
Cooking thin-sliced chicken breast in the oven is a straightforward process, but timing is key to achieving the perfect result. Here’s a general guideline:
- Temperature: Preheat your oven to 375°F (190°C). This temperature is ideal for baking chicken breasts, as it cooks them thoroughly without drying them out.
- Cooking Time: Thin-sliced chicken breasts typically take 15-20 minutes to cook in the oven. However, the exact time may vary depending on the thickness of the slices and your oven’s performance. To ensure they’re fully cooked, use a meat thermometer to check that the internal temperature has reached 165°F (74°C).
Tips for Perfectly Cooked Thin-Sliced Chicken Breast
- Season Generously: Thin-sliced chicken breasts benefit from a good amount of seasoning. Use a mix of salt, pepper, garlic powder, paprika, or your favorite herbs and spices to enhance their flavor.
- Marinate for Extra Flavor: If you have time, marinate the chicken breasts for at least 30 minutes before cooking. A simple marinade of olive oil, lemon juice, garlic, and herbs can make a world of difference.
- Avoid Overcooking: Since thin-sliced chicken breasts cook quickly, it’s easy to overcook them. Keep a close eye on them, especially during the last few minutes of baking, to ensure they stay juicy and tender.
- Use a Meat Thermometer: The best way to ensure your chicken is cooked perfectly is to use a meat thermometer. Insert it into the thickest part of the chicken breast, and once it reads 165°F (74°C), your chicken is ready.
- Let It Rest: After removing the chicken from the oven, let it rest for a few minutes before slicing or serving. This allows the juices to redistribute, ensuring a moist and flavorful result.
Serving Suggestions
Thin-sliced chicken breasts are incredibly versatile and can be served in countless ways. Here are a few ideas:
- Salads: Slice the baked chicken and add it to a fresh green salad for a protein-packed meal.
- Sandwiches and Wraps: Use the chicken as a filling for sandwiches or wraps, along with your favorite veggies and sauces.
- Pasta Dishes: Dice the chicken and toss it with pasta, marinara sauce, and Parmesan cheese for a quick and satisfying dinner.
- Rice Bowls: Pair the chicken with steamed rice, roasted vegetables, and a drizzle of teriyaki or soy sauce for a balanced meal.
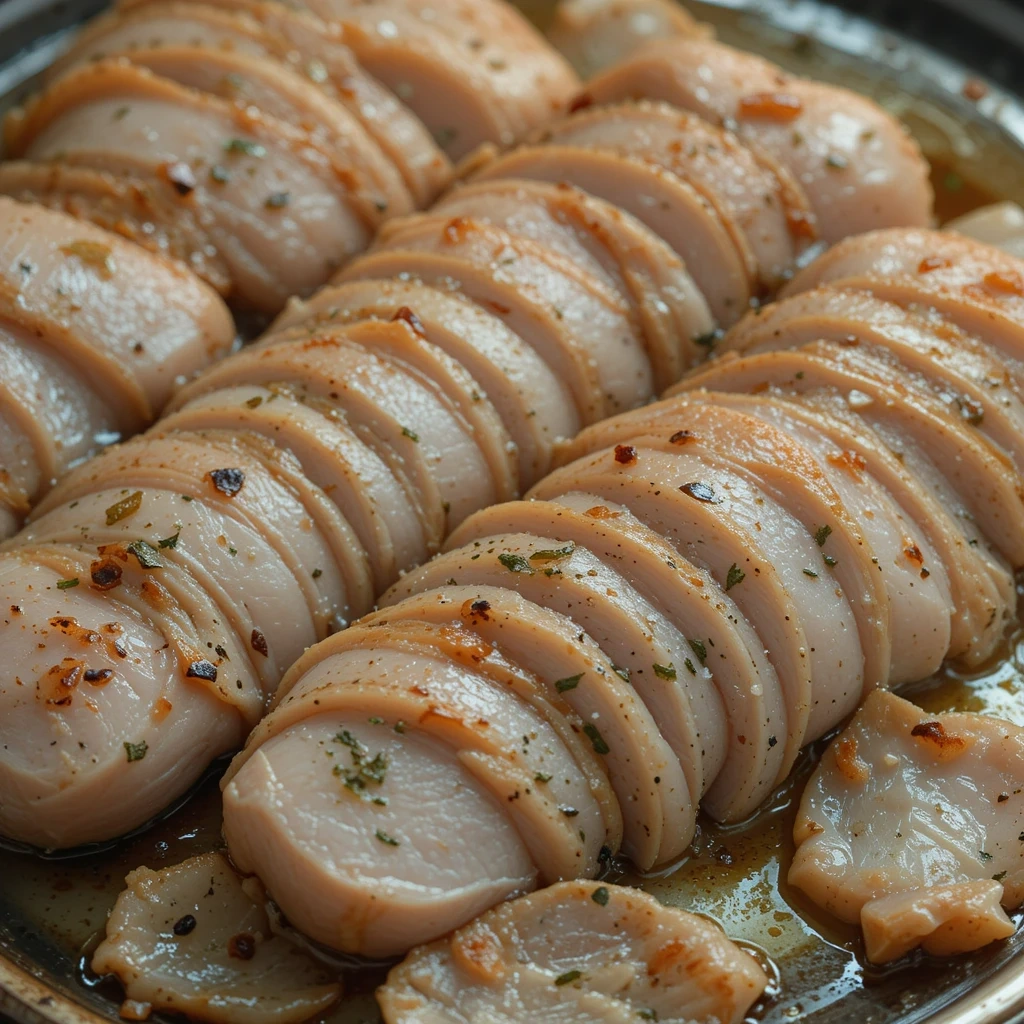
Preparation Before Baking
Thawing Chicken Properly
- Refrigerator method: Place chicken in a sealed bag and refrigerate overnight.
- Quick thawing: Submerge the chicken (in a plastic bag) in cold water, replacing the water every 30 minutes. Avoid using hot water to prevent uneven thawing.
If you’re in a hurry, try using pre-thawed chicken breasts for recipes like Chicken Over Rice.

Marinating for Flavor
Marinating enhances the flavor and tenderness of chicken. Try these marinade ideas:
- Lemon garlic marinade: A zesty, herby option.
- Teriyaki sauce: Sweet and savory.
- Herb butter: A creamy, aromatic choice.
Let the chicken marinate for at least 30 minutes, or overnight for more intense flavors. This technique can elevate simple recipes like Marry Me Chicken Pasta.
Setting Up the Oven
- Preheat temperature: Use 350°F to 400°F for the best results.
- Check temperature: Use an oven thermometer for precision.
How long to cook thin sliced chicken breast in oven
How Long to Cook
- At 350°F: Bake for 25–30 minutes.
- At 375°F: Bake for 20–25 minutes.
- At 400°F: Bake for 15–25 minutes.
For added flavor and moisture, consider baking chicken with a drizzle of olive oil or chicken broth.
Using a Meat Thermometer
A meat thermometer is your best friend for ensuring safe and juicy chicken. Check the thickest part of the breast—it should read 165°F when done.
Storing and Reheating Leftovers: Keeping Your Chicken Fresh and Flavorful
Thin-sliced chicken breasts are not only quick and easy to cook but also make excellent leftovers. Whether you’re meal prepping for the week or saving extra portions from dinner, proper storage and reheating techniques are essential to maintain the chicken’s texture and flavor. Here’s everything you need to know to keep your chicken fresh and delicious.
Storing Leftover Chicken
Proper storage is key to preserving the quality of your cooked chicken. Follow these steps to ensure it stays fresh and safe to eat:
- Cool Completely: Before storing, allow the chicken to cool to room temperature. Placing hot chicken directly in the refrigerator or freezer can create condensation, which may lead to sogginess or freezer burn.
- Refrigerator Storage: Store the chicken in an airtight container or wrap it tightly in plastic wrap or aluminum foil. Properly stored, cooked chicken can last in the refrigerator for 3-4 days.
- Freezer Storage: For longer storage, place the chicken in a freezer-safe bag or container. Squeeze out as much air as possible to prevent freezer burn. Cooked chicken can be frozen for up to 2-3 months. Label the container with the date to keep track of its freshness.
- Portion Control: If you’re meal prepping, consider dividing the chicken into individual portions before storing. This makes it easier to reheat only what you need, reducing waste.
Reheating Leftover Chicken
Reheating chicken properly is just as important as storing it correctly. Improper reheating can dry out the meat or make it rubbery. Here are the best methods to reheat your thin-sliced chicken breasts:
- Microwave Method:
- Place the chicken on a microwave-safe plate.
- Cover it with a damp paper towel to add moisture and prevent drying.
- Heat on medium power in 30-second intervals, checking the temperature each time. This method is quick and convenient but requires careful attention to avoid overcooking.
- Oven Method:
- Preheat your oven to 250°F (120°C).
- Place the chicken on a baking sheet and cover it loosely with aluminum foil to retain moisture.
- Heat for about 10-15 minutes, or until the chicken reaches an internal temperature of 165°F (74°C). This method takes longer but helps maintain the chicken’s juiciness.
- Stovetop Method:
- Add a small amount of oil or broth to a skillet over medium heat.
- Place the chicken in the skillet and cover it with a lid.
- Heat for 2-3 minutes on each side, or until warmed through. This method is ideal for adding a bit of extra flavor.
FAQs and Troubleshooting
Common Questions
- How do I prevent the chicken from drying out?
- Cover the chicken with foil while baking to trap moisture.
- Baste the chicken periodically with broth, olive oil, or a marinade during cooking.
- Avoid overcooking by using a meat thermometer to check for doneness.
- Can I bake chicken without oil?
- Yes, you can use parchment paper or a non-stick cooking spray to prevent sticking without adding oil. This is a great option for those looking to reduce fat content.
Troubleshooting Tips
- Dry Chicken:
- If your chicken turns out dry, try marinating it longer before cooking to add moisture and flavor.
- Bake the chicken covered with foil or in a baking dish with a lid to retain moisture.
- Chicken Sticks to the Pan:
- Use parchment paper or a silicone baking mat to prevent sticking.
- Grease the pan lightly with oil or cooking spray before adding the chicken.
- Uneven Cooking:
- Ensure the chicken slices are of uniform thickness before cooking. If necessary, pound them gently with a meat mallet to even them out.
- Arrange the chicken in a single layer on the baking sheet, leaving space between each piece for even heat distribution.
By following these storage, reheating, and troubleshooting tips, you can enjoy your thin-sliced chicken breasts at their best, even as leftovers. Whether you’re reheating for a quick lunch or incorporating them into a new dish, these techniques will help you maintain the chicken’s juiciness and flavor.
Conclusion
Thin-sliced chicken breasts are a convenient and versatile option for anyone looking to prepare a quick and healthy meal. With their short cooking time, even thickness, and ability to adapt to various flavors and dishes, they’re a kitchen staple worth keeping on hand. By following the tips and guidelines above, you can ensure your thin-sliced chicken breasts turn out perfectly cooked, juicy, and flavorful every time. Whether you’re serving them in a salad, sandwich, or as part of a larger meal, this simple yet delicious protein is sure to satisfy.
Cooking thin-sliced chicken breasts in the oven is easy, quick, and versatile. By following these steps and tips, you’ll achieve juicy, flavorful results every time. Pair your chicken with recipes like Chicken Over Rice or Marry Me Chicken Pasta for a complete meal.