Chocolate bar molds have become an essential tool for both amateur and professional chocolatiers, offering a way to create custom, high-quality chocolate bars with ease. These molds are not only functional but also allow for endless creativity, enabling users to design unique shapes, textures, and patterns. Whether you’re making chocolate bars for personal enjoyment, as gifts, or for a business, understanding the types, uses, and selection criteria for chocolate bar molds is key to achieving the best results.
Types of Chocolate Bar Molds
Chocolate bar molds come in a variety of materials, each with its own advantages. The most common types include:
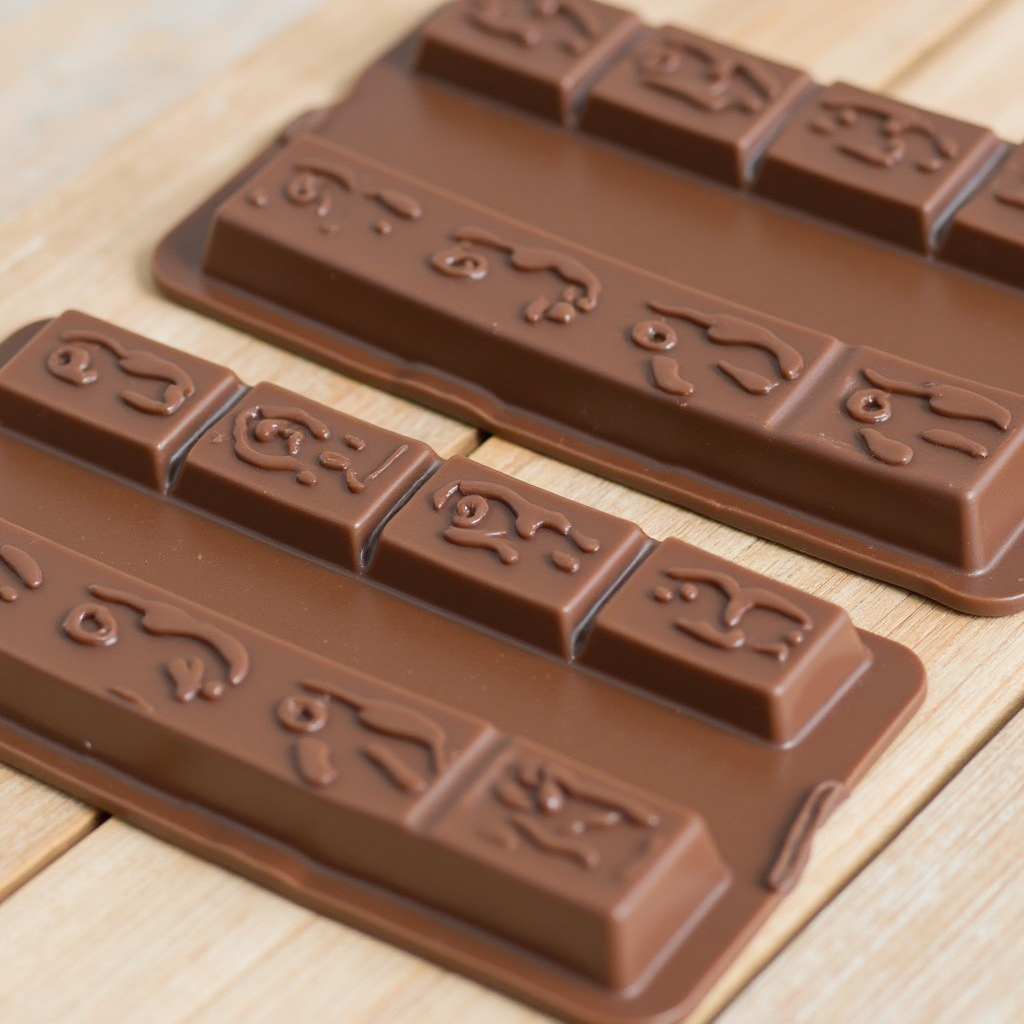
- Polycarbonate Molds: Known for their durability and professional finish, polycarbonate molds are a favorite among experienced chocolatiers. They are rigid, non-porous, and provide a glossy finish to the chocolate. These molds are ideal for creating intricate designs and are often used in commercial chocolate production.
- Silicone Molds: Silicone molds are flexible, non-stick, and easy to use, making them perfect for beginners. They are available in a wide range of shapes and sizes, from classic bar designs to whimsical patterns. Silicone molds are also dishwasher-safe, which simplifies cleanup.
- Plastic Molds: These are lightweight and affordable, making them a popular choice for casual use. While they may not offer the same level of detail as polycarbonate molds, they are still effective for creating simple chocolate bars.
- Metal Molds: Less common but still used, metal molds are durable and provide a smooth finish. However, they can be heavier and more challenging to handle compared to other materials.
Uses of Chocolate Bar Molds
Chocolate bar molds are incredibly versatile and can be used for more than just making chocolate bars. Here are some creative ways to use them:
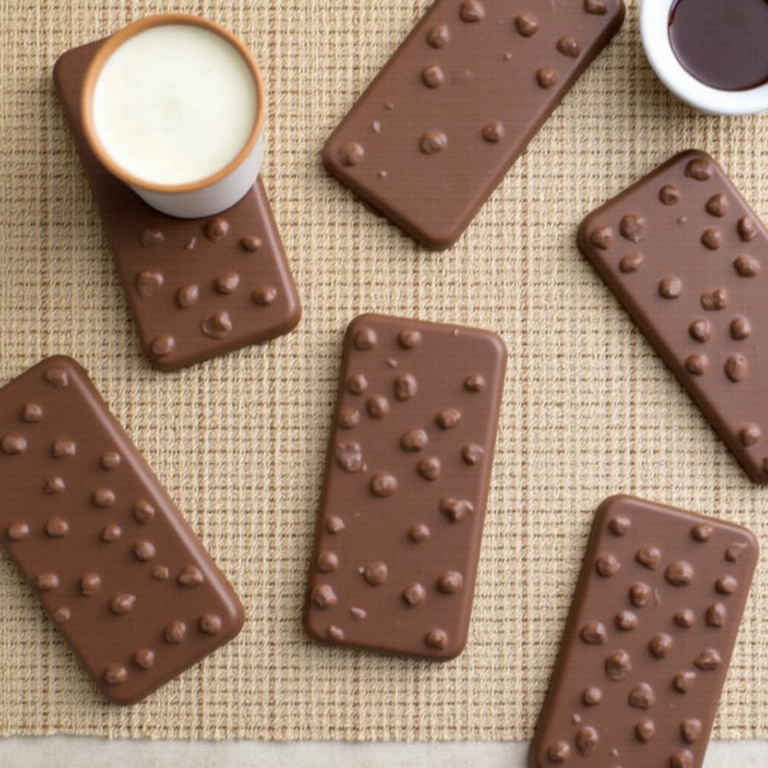
- Custom Chocolate Bars: Create personalized chocolate bars by adding nuts, dried fruits, spices, or other inclusions. You can also experiment with different types of chocolate, such as dark, milk, or white, to suit your taste.
- Themed Treats: Use molds to make chocolate bars for special occasions like holidays, birthdays, or weddings. Many molds come in themed designs, such as hearts for Valentine’s Day or snowflakes for Christmas.
- Edible Gifts: Handmade chocolate bars make thoughtful and unique gifts. Package them in decorative wrappers or boxes for a professional touch.
- Business Ventures: If you’re running a chocolate business, molds allow you to produce consistent, high-quality products that stand out in the market. Custom molds can even be created to feature your brand logo or unique designs.
Tips for Selecting the Best Chocolate Bar Molds
Choosing the right mold depends on your needs and experience level. Here are some factors to consider:
- Material: Decide between polycarbonate, silicone, plastic, or metal based on your desired finish and ease of use. Polycarbonate is best for professional results, while silicone is great for beginners.
- Design: Consider the shape, size, and pattern of the mold. If you’re making chocolate bars for a specific purpose, such as a holiday or event, look for molds with themed designs.
- Durability: If you plan to use the mold frequently, invest in a high-quality, durable option like polycarbonate or silicone.
- Ease of Cleaning: Silicone molds are typically dishwasher-safe, while polycarbonate molds require hand washing to maintain their finish. Choose a mold that fits your cleaning preferences.
- Quantity: Some molds allow you to make multiple bars at once, which is ideal for large batches. If you’re making smaller quantities, a single-bar mold may suffice.
- Compatibility with Tempering: If you’re tempering chocolate, ensure the mold can withstand the temperature changes without warping. Polycarbonate molds are particularly well-suited for tempered chocolate.
Advanced Techniques with Chocolate Bar Molds
Once you’ve mastered the basics, you can explore advanced techniques to elevate your chocolate-making skills:
- Layering: Create multi-layered chocolate bars by pouring different types of chocolate in stages. For example, you can layer dark chocolate with white chocolate for a striking contrast.
- Inclusions: Add nuts, seeds, candies, or dried fruits to the mold before pouring the chocolate. This adds texture and flavor to your bars.
- Airbrushing: Use an airbrush to add color or designs to the inside of the mold before pouring the chocolate. This technique is often used for decorative or branded chocolate bars.
- Transfer Sheets: Place a transfer sheet at the bottom of the mold before adding the chocolate. Once set, the sheet will leave a detailed pattern or design on the surface of the bar.
Chocolate bar molds are a gateway to endless creativity and customization in the world of chocolate-making. By understanding the different types, uses, and selection criteria, you can choose the perfect mold to suit your needs and create stunning, professional-quality chocolate bars. Whether you’re a beginner or an experienced chocolatier, these tools will help you bring your chocolate visions to life.
Looking to experiment with sweet creations? Explore Dubai Chocolate Bar Recipe for inspiration in making sophisticated treats.
How to Choose the Best Chocolate Bar Mold
Factors to Consider
When it comes to choosing the best chocolate bar mold, ease of cleaning is a critical factor that can significantly impact your overall experience, especially if you plan to use the mold frequently. A mold that is difficult to clean can become a source of frustration, wasting time and potentially affecting the quality of your chocolate creations. Therefore, prioritizing molds that are easy to clean is essential for both convenience and maintaining hygiene standards.
One of the key aspects to consider is whether the mold is dishwasher-safe. Dishwasher-safe molds are incredibly convenient because they allow for quick and thorough cleaning without the need for extensive handwashing. This is particularly beneficial if you are working with multiple molds or producing chocolate in large quantities. Simply placing the mold in the dishwasher after use can save you considerable time and effort, ensuring that it is ready for your next project without hassle. However, it’s important to verify the manufacturer’s instructions, as some molds may require specific dishwasher settings or may not be suitable for high-temperature cycles.
For molds that are not dishwasher-safe, the design and material play a significant role in determining how easy they are to clean by hand. Silicone molds, for example, are often praised for their flexibility and non-stick properties, which make them relatively easy to clean. Their smooth surfaces prevent chocolate from sticking, reducing the need for vigorous scrubbing. Polycarbonate molds, while rigid and durable, also tend to have smooth surfaces that are easy to wipe clean. However, their fixed shape may make it slightly more challenging to reach into intricate details or corners compared to flexible silicone molds.
Another consideration is the presence of intricate designs or patterns on the mold. While these can add a beautiful touch to your chocolate bars, they can also make cleaning more labor-intensive. Molds with deep grooves or fine details may require extra attention to ensure that no chocolate residue is left behind. In such cases, using a soft brush or a gentle stream of warm water can help dislodge any stubborn bits without damaging the mold.
Additionally, the type of chocolate you use can influence the cleaning process. Dark chocolate, for instance, tends to leave less residue compared to milk or white chocolate, which contain higher amounts of dairy and sugar. If you frequently work with milk or white chocolate, opting for a mold with a non-stick surface or one that is particularly easy to clean can make a noticeable difference.
Lastly, proper maintenance and storage of your mold can extend its lifespan and keep it in optimal condition for cleaning. Always ensure that the mold is completely dry before storing it to prevent mold growth or damage. Storing it in a cool, dry place away from direct sunlight will also help maintain its integrity over time.
In summary, when evaluating the ease of cleaning for a chocolate bar mold, consider factors such as dishwasher compatibility, material properties, design complexity, and the type of chocolate you use. By choosing a mold that aligns with your cleaning preferences and needs, you can streamline the process and focus more on the creative and enjoyable aspects of chocolate making.
Explore high-quality baking essentials in Marry Me Chicken Pasta for more kitchen tips.
Base Ingredients
- Chocolate:
- Dark Chocolate: Made from cocoa solids, cocoa butter, and sugar. Ideal for a rich, intense flavor. Look for high-quality couverture chocolate for the best results.
- Milk Chocolate: Contains cocoa solids, cocoa butter, sugar, and milk powder. It has a creamier, sweeter taste compared to dark chocolate.
- White Chocolate: Made from cocoa butter, sugar, and milk powder (no cocoa solids). It has a sweet, vanilla-like flavor.
- Vegan Chocolate: Uses plant-based milk (e.g., almond, oat, or coconut) instead of dairy milk. Ensure it’s made with cocoa butter for proper tempering.
- Cocoa Butter (optional):
- Used to thin out chocolate for a smoother consistency or to add shine. It’s essential for tempering and achieving a professional finish.
Sweeteners (optional, depending on the chocolate used):
- Granulated Sugar: Often already included in chocolate, but you can add more if making homemade chocolate from scratch.
- Powdered Sugar: Dissolves easily and is great for smooth textures.
- Honey or Maple Syrup: Adds a natural sweetness and unique flavor.
- Stevia or Erythritol: For a sugar-free or low-calorie option.
Flavorings (optional):
- Vanilla Extract: Enhances the flavor of milk and white chocolate.
- Sea Salt: A pinch of flaky sea salt can balance sweetness and add complexity.
- Espresso Powder: Complements dark chocolate with a subtle coffee flavor.
- Spices: Cinnamon, chili powder, or cardamom can add a unique twist.
- Essential Oils: Food-grade oils like orange, mint, or lavender for intense flavor.
Add-Ins (for texture and flavor):
- Nuts: Almonds, hazelnuts, pistachios, or peanuts add crunch.
- Dried Fruits: Raisins, cranberries, or apricots for a chewy contrast.
- Seeds: Pumpkin seeds, sunflower seeds, or chia seeds for a nutritious boost.
- Candies: Mini marshmallows, toffee bits, or crushed cookies for fun textures.
- Caramel or Nougat: Swirled or layered for a gourmet touch.
- Freeze-Dried Fruits: Strawberries, raspberries, or mango for a tangy, crunchy element.
- Sprinkles or Edible Glitter: For a decorative, festive look.
Specialty Ingredients (for dietary preferences):
- Plant-Based Milk Powder: For vegan chocolate bars.
- Coconut Oil: Can be used as a substitute for cocoa butter in some recipes.
- Protein Powder: For protein-enriched chocolate bars.
- Superfoods: Matcha powder, maca powder, or spirulina for added health benefits.
Tempering Agents (for a glossy finish and snap):
- Pre-Tempered Chocolate: Simplifies the process as it’s already tempered.
- Seed Chocolate: Small pieces of already-tempered chocolate used to temper melted chocolate.
Tips for Ingredient Selection:
- Use high-quality chocolate with a high cocoa butter content for the best results.
- Ensure all add-ins are dry and at room temperature to prevent seizing.
- Experiment with combinations to create unique flavors and textures.
By carefully selecting your ingredients and incorporating creative add-ins, you can craft delicious, customized chocolate bars using your chosen molds.
Step-by-Step Guide: Using Chocolate Bar Molds
1: Preparing the Mold
- Wash the mold with warm soapy water and dry thoroughly.
- Grease non-silicone molds lightly to prevent sticking.
2: Pouring and Setting Chocolate
- Melt chocolate evenly using a double boiler or microwave.
- Pour into the mold slowly to avoid air bubbles.
- Gently tap the mold on the countertop to release trapped air.
3: Demolding the Bars
- Allow the chocolate to set completely before removing it from the mold.
- For silicone molds, press gently from the underside to release the chocolate.
To add an artistic touch to your confections, learn about Sweet Breakfast Recipes for pairing ideas.
Creative Uses for Chocolate Bar Molds
Beyond Chocolate
Chocolate bar are incredibly versatile:
- Soap Making: Craft decorative soap bars for gifts.
- Ice Molds: Create ice bars infused with fruit or herbs.
Festive Decor Ideas
- Add edible glitter or gold flakes for a luxurious touch.
- Design themed chocolates for occasions like Valentine’s Day or weddings.
For festive dessert inspirations, check out Strawberry Cheesecake Cookies.
FAQs About Chocolate Bar Molds
1. What’s the best material for chocolate molds?
Silicone molds are ideal for beginners, while professionals often prefer polycarbonate for precision.
2. Can molds be reused?
Yes, most molds, especially silicone, are reusable and durable with proper care.
3. How do I prevent chocolate from sticking?
Ensure the mold is completely clean and dry. Light greasing can help with non-silicone molds.
4. Are chocolate bar molds dishwasher-safe?
Many silicone molds are, but always check the manufacturer’s instructions.
Why Make Your Own Chocolate Bars?
Homemade chocolate bars allow control over ingredients, making them a healthier alternative to store-bought options.
- Customization: Add nuts, seeds, or dried fruits for extra nutrition.
- Dietary Preferences: Use vegan or sugar-free chocolate for specific diets.
Discover more creative recipes with Kunafa Chocolate Bar for a fusion of traditional and modern flavors.
Conclusion
Chocolate bar molds unlock endless creative possibilities for chocolatiers of all levels. With the right mold and techniques, you can craft stunning, professional-quality treats. Get inspired today and explore related resources for a full culinary experience!