Dinosaur Cakes have a special place in my heart—not just because they’re wildly fun to make, but because I remember the very first one I ever baked for my nephew’s fifth birthday. He was in the middle of his “dinosaur obsession phase,” rattling off names like Ankylosaurus and Pachycephalosaurus like a tiny paleontologist. I wanted to surprise him with something unforgettable, so I rolled up my sleeves and decided to bring a prehistoric world to life in cake form.
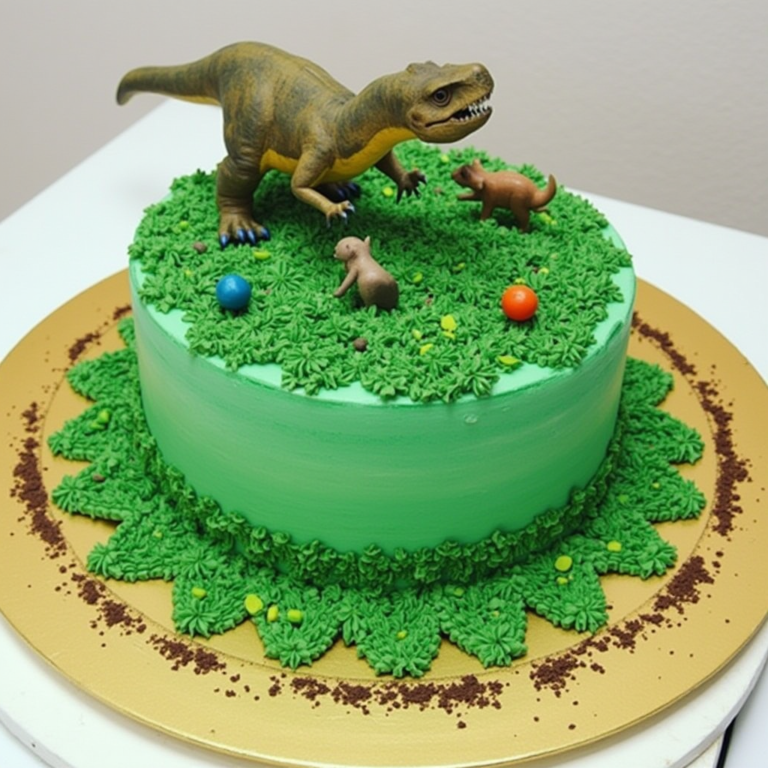
The look on his face when he saw a roaring T-Rex made of frosting standing atop chocolate “boulders” and green coconut “grass” was priceless. That cake didn’t just become the centerpiece of the party—it became a memory our family still talks about years later.
That’s the magic of dinosaur cakes. They’re more than just desserts—they’re edible adventures that spark wonder, creativity, and a whole lot of joy. Whether you’re throwing a dino-themed bash or just want to impress a little one who’s obsessed with Jurassic creatures, this guide will walk you through everything you need to know. From design inspiration to decorating tips, we’ll help you create a dinosaur cake that’s truly dino-mite.
Table of Contents
Table of Contents
Dinosaur Cake
Description
Dinosaur Cakes have a special place in my heart—not just because they’re wildly fun to make, but because I remember the very first one I ever baked for my nephew’s fifth birthday. He was in the middle of his “dinosaur obsession phase,” rattling off names like Ankylosaurus and Pachycephalosaurus like a tiny paleontologist. I wanted to surprise him with something unforgettable, so I rolled up my sleeves and decided to bring a prehistoric world to life in cake form.
Ingredients
The first step to creating a flawless dinosaur cake is gathering the right ingredients:
-
- Cake base: Flour, sugar, butter, eggs, and baking powder.
-
- Decorations: Fondant in green, brown, and other natural hues, plus edible glitter.
Instructions
Bake the Cake
Follow these simple steps to bake a delicious base for your dinosaur masterpiece:
-
- Mix your ingredients following your chosen recipe.
-
- Pour the batter into shaped molds or standard pans for later carving.
-
- Bake at 350°F for 30–35 minutes, then let cool.
Pro Tip: Use this easy gluten-free recipe as a base if you’re catering to dietary restrictions.
Shape Your Dinosaur Cake
Once your cake has cooled, carve it into your desired dinosaur shape using templates or freehand designs. Tools like serrated knives and toothpicks help outline the structure.
Decorate Like a Pro
Decorating brings your dinosaur cake to life!
- Frosting: Cover the cake with buttercream or fondant, using colors like green for the body and white for teeth.
- Details: Add edible accents like fondant scales and candy eyes.
- Category: Cake
- Method: Bake
- Cuisine: American
What makes dinosaur cakes so appealing?
- Nostalgia and Wonder: Dinosaurs evoke a sense of adventure and curiosity, making them a timeless favorite for children and adults alike.
- Endless Creativity: The variety of dinosaur species and their unique features allow bakers to experiment with shapes, colors, and designs.
- Interactive Fun: A dinosaur cake often becomes the centerpiece of the party, sparking conversations and creating lasting memories.
Whether you’re aiming for a realistic Jurassic Park-inspired cake or a whimsical, cartoonish design, dinosaur cakes are guaranteed to impress.
Types of Dinosaur Cakes
Dinosaur cakes come in all shapes and sizes, offering endless possibilities for customization. Here are some popular ideas to inspire your creation:
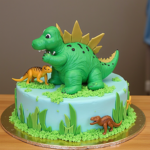
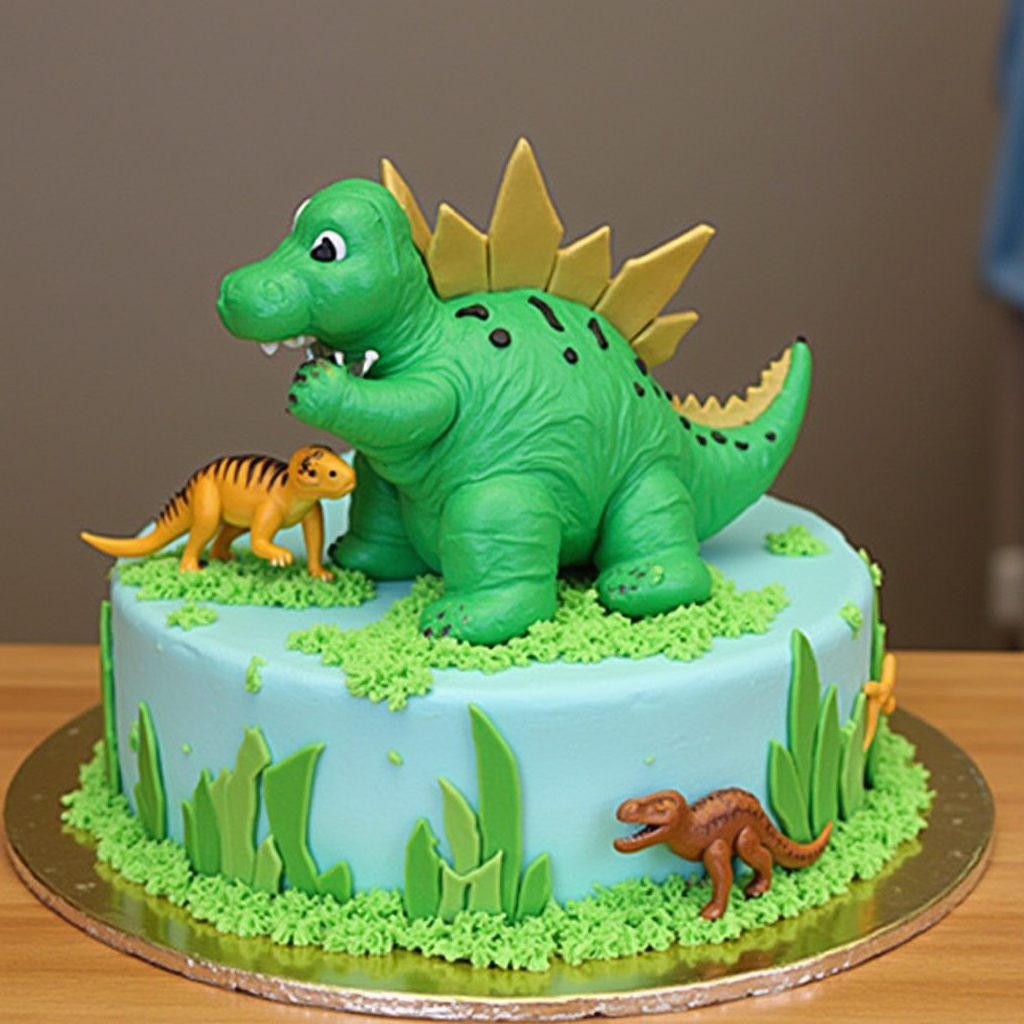
- 3D Sculpted Cakes: These cakes are shaped like a dinosaur, often featuring intricate details like scales, claws, and teeth. A T-Rex or Brachiosaurus cake is a classic choice.
- Dinosaur Egg Cakes: A cake designed to look like a cracked dinosaur egg, with a baby dinosaur peeking out, is a fun and playful option.
- Dinosaur Landscape Cakes: Create a prehistoric scene with volcanoes, palm trees, and multiple dinosaurs roaming the cake’s surface.
- Cupcake Dinosaur Displays: Arrange cupcakes in the shape of a dinosaur or decorate them with dinosaur toppers for a creative and easy-to-serve alternative.
Each type of cake offers its own unique charm, allowing you to choose a design that fits your skill level and party theme.
Tips for Crafting the Perfect Dinosaur Cake
Creating a dinosaur cake may seem daunting, but with the right tools and techniques, it can be a fun and rewarding project. Here are some tips to help you get started:
- Plan Your Design: Sketch your cake idea beforehand, considering the size, shape, and decorations. This will help you stay organized and focused.
- Use the Right Tools: Invest in essential baking tools like cake pans, fondant cutters, and food coloring to bring your design to life.
- Start Simple: If you’re new to cake decorating, begin with a basic design like a dinosaur egg or a single-layer cake with dinosaur toppers.
- Add Texture and Details: Use fondant, buttercream, or edible paints to create realistic textures like scales, skin, or grass.
- Incorporate Fun Elements: Add edible figurines, toy dinosaurs, or themed decorations like trees and rocks to enhance the cake’s visual appeal.
Making Dinosaur Cakes Accessible
Not everyone has the time or skills to bake a dinosaur cake from scratch, but that doesn’t mean you can’t enjoy one! Here are some easy alternatives:
- Store-Bought Cakes: Purchase a plain cake from a bakery and decorate it with dinosaur-themed toppers or edible decorations.
- Cake Kits: Use pre-made cake kits that include everything you need to create a dinosaur-themed dessert.
- Cupcake Displays: Arrange store-bought cupcakes in a dinosaur shape and add themed toppers for a quick and festive option.
Dinosaur cakes are a delightful way to celebrate any occasion, combining creativity, fun, and deliciousness. Whether you’re crafting a detailed 3D masterpiece or a simple yet charming design, these cakes are sure to be the highlight of your party. With a little planning and imagination, you can create a prehistoric centerpiece that will leave your guests roaring with delight!
Looking for more fun baking ideas? Check out these birthday cake cookies for another colorful and festive option.
How to Make a Dinosaur Cake
1. Prepare Your Ingredients
The first step to creating a flawless dinosaur cake is gathering the right ingredients:
- Cake base: Flour, sugar, butter, eggs, and baking powder.
- Decorations: Fondant in green, brown, and other natural hues, plus edible glitter.
For unique flavor inspirations, try using elements from this carrot cake cookie recipe for a moist and flavorful base.
2. Bake the Cake
Follow these simple steps to bake a delicious base for your dinosaur masterpiece:
- Mix your ingredients following your chosen recipe.
- Pour the batter into shaped molds or standard pans for later carving.
- Bake at 350°F for 30–35 minutes, then let cool.
Pro Tip: Use this easy gluten-free recipe as a base if you’re catering to dietary restrictions.
3. Shape Your Dinosaur Cake
Once your cake has cooled, carve it into your desired dinosaur shape using templates or freehand designs. Tools like serrated knives and toothpicks help outline the structure.
Beginner Tip: If you’re new to sculpting cakes, start with a 2D dinosaur design for ease.
4. Decorate Like a Pro
Decorating brings your dinosaur cake to life!
- Frosting: Cover the cake with buttercream or fondant, using colors like green for the body and white for teeth.
- Details: Add edible accents like fondant scales and candy eyes.
Want more dessert inspiration? Explore these lemon blueberry cookies to pair with your cake for a complete dessert table.
Tips for a Perfect Dinosaur Cake
Creating a dinosaur cake that wows your guests requires careful planning, the right tools, and a touch of creativity. Here are some essential tips to help you craft the perfect prehistoric masterpiece:
Plan Ahead
A dinosaur cake, especially a sculpted or 3D design, takes time and patience. Allocate enough time for each step:
- Baking: Ensure your cake layers are fully baked and cooled before carving.
- Carving: Sketch your design and carve the cake slowly to avoid mistakes.
- Decorating: Allow ample time for frosting, fondant work, and adding details.
Planning ahead ensures a stress-free process and a stunning final result.
Use the Right Tools
Investing in high-quality tools can make a world of difference:
- Sculpting Knives: For precise carving and shaping.
- Turntable: To easily rotate the cake while decorating.
- Piping Tips: For adding intricate details like scales or grass.
- Fondant Smoothers: To create a polished, professional finish.
Having the right tools on hand will streamline the process and elevate your cake’s design.
Experiment with Textures
Textures bring your dinosaur cake to life:
- Edible Glitter: Add a shimmering effect to scales or eggs.
- Sugar Crystals: Create a rocky or sandy texture for landscapes.
- Fondant Imprints: Use textured mats or tools to mimic dinosaur skin.
These small details can make your cake visually dynamic and unforgettable.
With these tips, you’ll be well on your way to creating a dinosaur cake that’s as impressive as it is delicious!
Customization Ideas
1. Theme Variations
Dinosaur cakes can fit any party theme:
- Jungle Style: Add edible plants and rock candy around the base.
- Cartoon Dinosaurs: Use bright colors and large, exaggerated features.
For more themed ideas, see this pizza edition recipe and adapt the vibrant, fun approach to your party setup.
2. Dietary Adjustments
Catering to specific dietary needs?
- Use almond flour and dairy-free frosting for a gluten-free cake.
- Substitute eggs with flaxseed or applesauce for vegan guests.
Learn more about inclusive recipes with these vegan breakfast recipes.
Serving and Presenting Your Cake
1. Creative Display Ideas
- Use toy dinosaurs or edible foliage to enhance the prehistoric theme.
- Place the cake on a wooden slab or leafy backdrop for an authentic look.
2. Portioning the Cake
Slice the cake using a warm knife to ensure clean cuts. Pair with complementary desserts like milk and cookies for a sweet ending to the party.
FAQs About Dinosaur Cakes
Dinosaur cakes are a fun and creative way to celebrate any occasion, but they often come with questions, especially for those new to cake decorating. Here are some frequently asked questions to help you navigate the process and create a show-stopping dinosaur cake.
How long does it take to make a dinosaur cake?
The time required depends on the complexity of the design. On average, it takes 4–6 hours, including baking, cooling, carving, and decorating. For intricate 3D designs, you may need additional time for sculpting and detailing. Planning ahead and breaking the process into steps can help manage your time effectively.
Can I make a dinosaur cake without fondant?
Absolutely! While fondant is popular for its smooth finish and versatility, buttercream frosting can create equally stunning designs. Use piping tips to add texture, such as scales or grass, and edible decorations like sprinkles or chocolate pieces for extra flair. Buttercream is also more beginner-friendly and often preferred for its taste.
Are there easy dinosaur designs for beginners?
Yes! If you’re new to cake decorating, start with simple designs:
- 2D Shapes: Use a stencil or freehand a dinosaur outline on a sheet cake.
- Cupcake Displays: Arrange cupcakes in a dinosaur shape and add themed toppers.
- Dinosaur Eggs: Create a cake that looks like a cracked egg with a baby dinosaur inside.
These beginner-friendly options are less intimidating but still deliver a big impact.
With these FAQs answered, you’re ready to tackle your dinosaur cake project with confidence and creativity!
Conclusion
A dinosaur cake isn’t just a dessert; it’s an artistic centerpiece that adds excitement to any celebration. With the right tools, planning, and a touch of creativity, you can craft a cake that leaves a lasting impression. Dive into this project, and don’t forget to explore Recipes Briny for more creative ideas and tips!