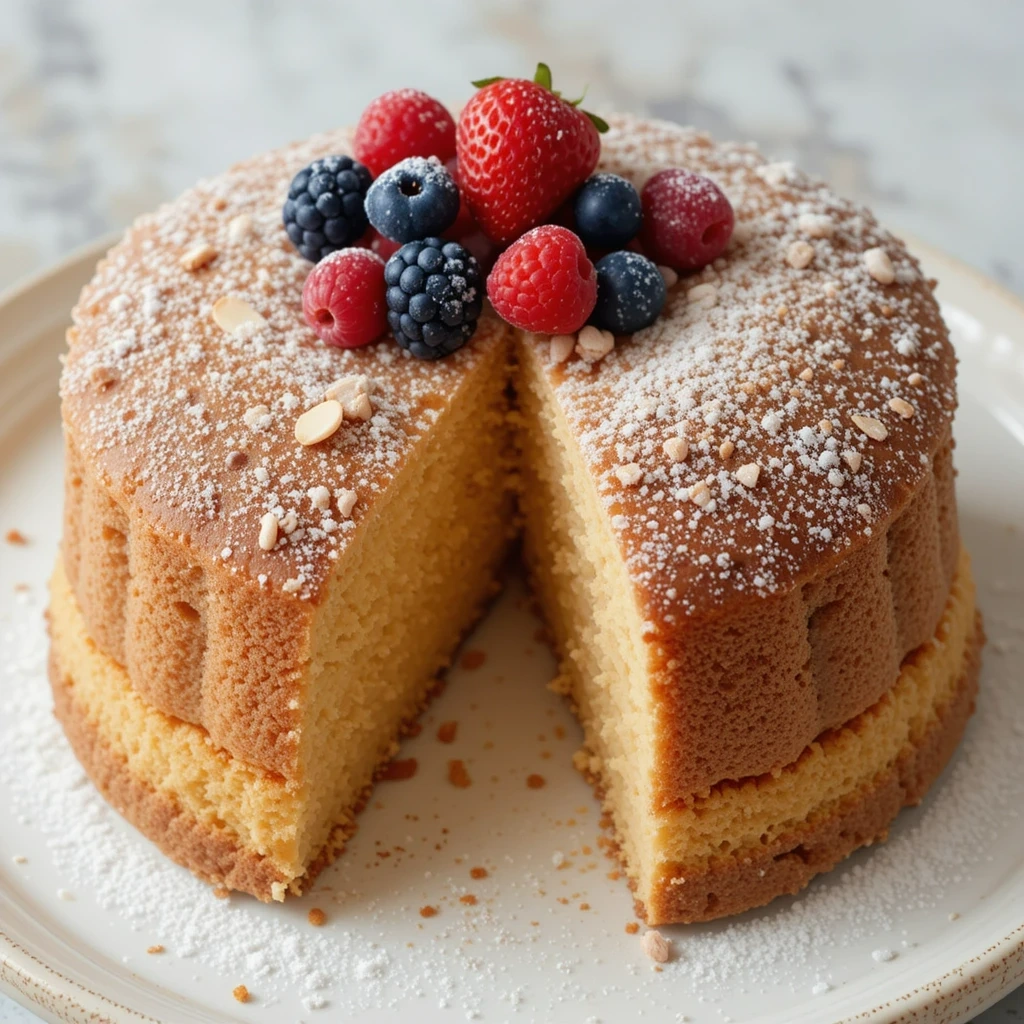
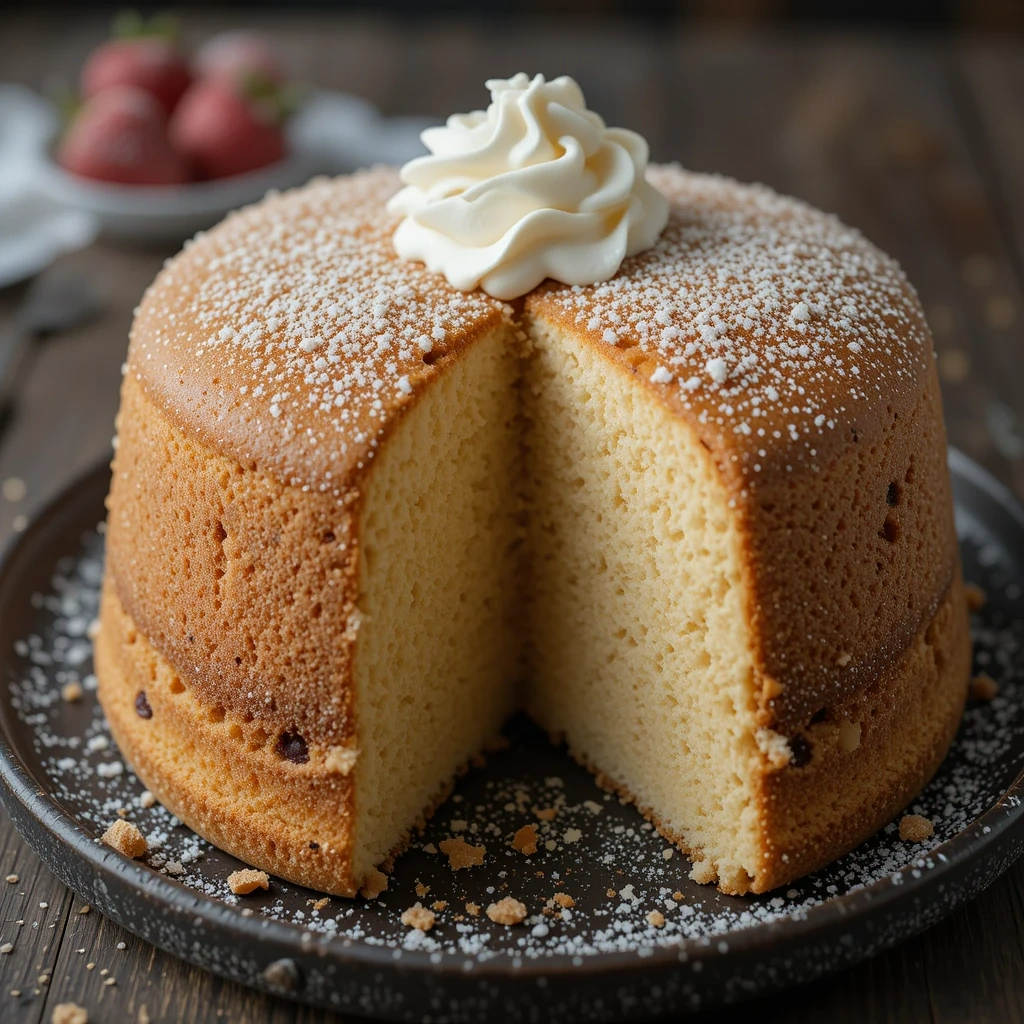
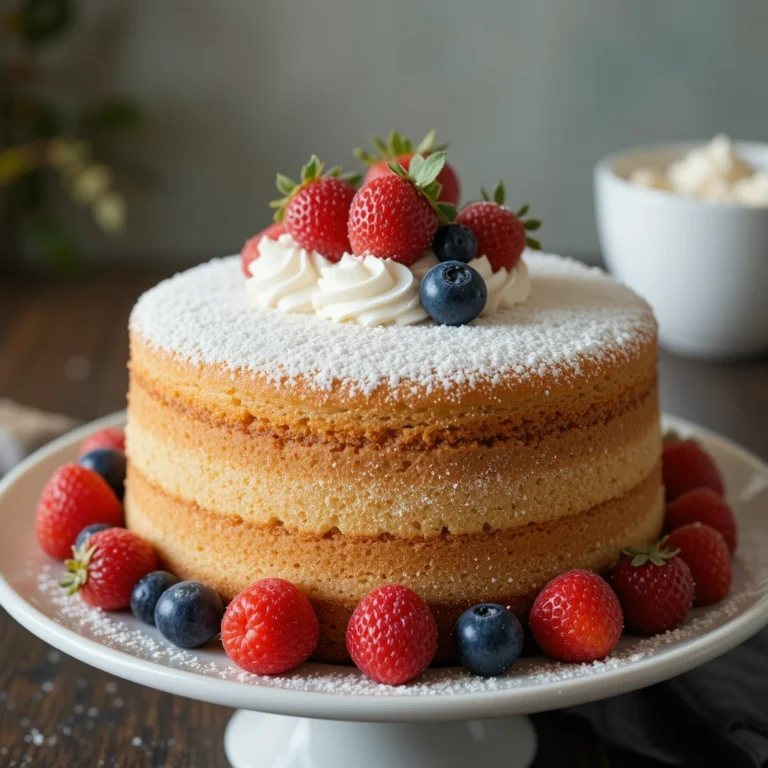
Sand Cake Recipe is one of those timeless desserts that feels like a warm hug from the past—simple, humble, and steeped in tradition. My first taste of sand cake came from a worn recipe card in my grandmother’s kitchen, handwritten in her delicate script and marked with smudges of flour and butter. She made it often, especially on quiet Sunday afternoons, when the house was filled with the comforting scent of vanilla and baked sugar. I remember how she’d slice it warm and serve it with a cup of tea, its soft crumb and subtly sweet flavor making it the perfect pairing.
The name “Sand Cake” comes from its uniquely sandy texture—crumbly yet tender—which is achieved through the careful creaming of butter and sugar, and the use of fine, dry ingredients like potato starch or cake flour. It’s a beautiful example of how just a few simple components, treated with care, can create something deeply satisfying.
In this article, we’ll take a closer look at the Sand Cake Recipe, tracing its origins through European baking traditions, exploring the science behind its signature texture, and sharing a trusted step-by-step recipe. You’ll also find thoughtful variations, whether you’re in the mood for citrus zest, chocolate swirls, or a dusting of powdered sugar. Whether you’re baking it for a gathering or just to enjoy a quiet moment with a slice and a warm drink, sand cake is the kind of dessert that never goes out of style.
Explore this Strawberry Candy
Table of Contents
Table of Contents

Sand Cake Recipe
- Total Time: 60-65
Description
Sand Cake Recipe is one of those timeless desserts that feels like a warm hug from the past—simple, humble, and steeped in tradition. My first taste of sand cake came from a worn recipe card in my grandmother’s kitchen, handwritten in her delicate script and marked with smudges of flour and butter.
Ingredients
-
- 1 cup (225g) unsalted butter, softened
-
- 1 cup (200g) granulated sugar
-
- 3 large eggs, at room temperature
-
- 1½ cups (190g) all-purpose flour
-
- ½ cup (60g) almond flour (optional)
-
- 1 teaspoon baking powder
-
- ¼ cup (60ml) whole milk or cream
-
- 1 teaspoon pure vanilla extract
-
- Pinch of salt
Optional Toppings:
-
- Powdered sugar for dusting
-
- Fresh berries (e.g., strawberries or raspberries)
-
- Whipped cream or Greek yogurt
Instructions
Step 1: Preparation (10 minutes)
- Preheat your oven to 350°F (175°C). Grease an 8-inch round cake pan and line it with parchment paper to prevent sticking.
- Allow butter and eggs to reach room temperature for easier mixing and better results.
Step 2: Creaming Butter and Sugar (5 minutes)
- In a large mixing bowl, beat softened butter and sugar together using an electric mixer on medium speed until light and fluffy (about 3 minutes). This step incorporates air into the batter for a tender cake texture.
Step 3: Adding Eggs (5 minutes)
- Add eggs one at a time to the creamed mixture, beating well after each addition until fully incorporated. Stir in vanilla extract for enhanced flavor.
Step 4: Incorporating Dry Ingredients (5 minutes)
- In a separate bowl, sift together all-purpose flour, almond flour (if using), baking powder, and salt to remove lumps and ensure even distribution of leavening agents.
- Gradually add dry ingredients to the wet mixture in three batches, alternating with milk or cream until just combined—avoid overmixing to maintain lightness.
Step 5: Baking (35–40 minutes)
- Pour batter into prepared pan and smooth the top with a spatula.
- Bake on the center rack for 35–40 minutes or until a toothpick inserted into the center comes out clean.
- Allow cake to cool in the pan for 10 minutes before transferring it to a wire rack to cool completely.
- Prep Time: 20-25
- Cook Time: 40
- Category: Cake
- Method: Bake
- Cuisine: American
The History of Sand Cake
The origins of Sand Cake can be traced back to traditional European baking, where simple cakes made with butter, sugar, and flour were popular among households. These cakes were often served as afternoon treats or celebratory desserts due to their ease of preparation and versatility.
Sand Cake’s unique texture—crumbly yet tender—set it apart from other cakes. It became especially popular in Scandinavian countries, where it was often flavored with almond or citrus and served during festive occasions. Over time, the recipe spread across the globe, evolving to include modern twists while retaining its classic charm.

Why Sand Cake Is a Timeless Favorite
Sand Cake remains beloved for several reasons:
1. Simplicity
With just a handful of ingredients—most of which are pantry staples—Sand Cake is accessible to bakers of all skill levels. Its straightforward preparation makes it an ideal choice for those who want to enjoy homemade desserts without spending hours in the kitchen.
2. Versatility
While delicious on its own, Sand Cake serves as a blank canvas for creativity. You can customize it with toppings like powdered sugar, fresh fruit, or sauces such as chocolate or caramel. It’s also easy to adapt the recipe to suit dietary preferences or flavor profiles.
3. Unique Texture
The cake’s crumbly texture is unlike most other desserts, offering a melt-in-your-mouth experience that’s both comforting and indulgent. This texture is achieved through precise mixing techniques and ingredient ratios, making Sand Cake a testament to the art of baking.
4. Perfect Pairing
Sand Cake pairs beautifully with beverages like coffee, tea, or hot chocolate, making it an excellent choice for afternoon breaks or casual gatherings.
The Science Behind Sand Cake’s Texture
The hallmark of Sand Cake is its sandy texture, which results from the interplay between butter, sugar, and flour during mixing and baking:
- Butter: The primary ingredient responsible for richness and tenderness. Softened butter ensures even mixing with sugar during creaming, creating air pockets that contribute to the cake’s lightness.
- Sugar: Adds sweetness while helping aerate the batter during creaming. Granulated sugar works best for achieving the desired texture.
- Flour: Provides structure while maintaining lightness. All-purpose flour is ideal for this recipe; however, almond flour can be used for added nuttiness and complexity.
- Eggs: Bind the ingredients together while adding moisture and richness to the batter. Room-temperature eggs blend more smoothly into the mixture for better results.
- Milk: A small amount of milk prevents dryness and ensures a balanced consistency between crumbly and tender textures.

Traditional Sand Cake Recipe
Ingredients You’ll Need
- 1 cup (225g) unsalted butter, softened
- 1 cup (200g) granulated sugar
- 3 large eggs, at room temperature
- 1½ cups (190g) all-purpose flour
- ½ cup (60g) almond flour (optional)
- 1 teaspoon baking powder
- ¼ cup (60ml) whole milk or cream
- 1 teaspoon pure vanilla extract
- Pinch of salt
Optional Toppings:
- Powdered sugar for dusting
- Fresh berries (e.g., strawberries or raspberries)
- Whipped cream or Greek yogurt
Step-by-Step Instructions
Step 1: Preparation (10 minutes)
- Preheat your oven to 350°F (175°C). Grease an 8-inch round cake pan and line it with parchment paper to prevent sticking.
- Allow butter and eggs to reach room temperature for easier mixing and better results.
Step 2: Creaming Butter and Sugar (5 minutes)
- In a large mixing bowl, beat softened butter and sugar together using an electric mixer on medium speed until light and fluffy (about 3 minutes). This step incorporates air into the batter for a tender cake texture.
Step 3: Adding Eggs (5 minutes)
- Add eggs one at a time to the creamed mixture, beating well after each addition until fully incorporated. Stir in vanilla extract for enhanced flavor.
Step 4: Incorporating Dry Ingredients (5 minutes)
- In a separate bowl, sift together all-purpose flour, almond flour (if using), baking powder, and salt to remove lumps and ensure even distribution of leavening agents.
- Gradually add dry ingredients to the wet mixture in three batches, alternating with milk or cream until just combined—avoid overmixing to maintain lightness.
Step 5: Baking (35–40 minutes)
- Pour batter into prepared pan and smooth the top with a spatula.
- Bake on the center rack for 35–40 minutes or until a toothpick inserted into the center comes out clean.
- Allow cake to cool in the pan for 10 minutes before transferring it to a wire rack to cool completely.
Variations on Sand Cake
Almond Sand Cake
Replace half of the all-purpose flour with almond flour for a nuttier flavor profile that complements the buttery richness of the cake.
Citrus Sand Cake
Add grated lemon or orange zest to the batter along with vanilla extract for a refreshing twist.
Chocolate Sand Cake
Mix in two tablespoons of cocoa powder with the dry ingredients to create a chocolate version of this classic dessert.
Gluten-Free Sand Cake
Use a gluten-free all-purpose flour blend instead of regular flour to create a version suitable for gluten-sensitive individuals.
Expert Tips for Perfect Results
- Room Temperature Ingredients: Always use room-temperature butter and eggs for smoother mixing and better aeration of the batter.
- Sifting Dry Ingredients: Sifting flour ensures there are no lumps in the batter while promoting even distribution of baking powder.
- Avoid Overmixing: Overmixing can lead to a dense cake; fold dry ingredients gently into the wet mixture.
- Cooling Time: Allow the cake to cool completely before slicing—it helps retain its structure.
Frequently Asked Questions
Can I make Sand Cake gluten-free?
Yes, you can absolutely make Sand Cake gluten-free! To achieve this, substitute the all-purpose flour with a gluten-free all-purpose flour blend. Ensure the blend contains a mix of rice flour, tapioca starch, and potato starch for the best texture. Alternatively, you can use almond flour entirely, which will impart a delightful nutty flavor to the cake. Keep in mind that almond flour tends to absorb more moisture, so you might need to slightly adjust the amount of liquid in the recipe to maintain the desired consistency.
How should I store Sand Cake?
Proper storage is key to maintaining the freshness and texture of your Sand Cake. After the cake has cooled completely, wrap it tightly in plastic wrap or place it in an airtight container. Store it at room temperature for up to three days. If your kitchen is particularly humid, consider placing a paper towel in the container to absorb excess moisture and prevent the cake from becoming soggy. For longer storage, you can refrigerate the cake for up to a week. However, be aware that refrigeration may slightly dry out the cake, so allow it to come to room temperature before serving for the best flavor and texture.
Can I use margarine instead of butter?
While margarine can be used as a substitute for butter in Sand Cake, it’s important to note that butter provides a superior flavor and texture that is hard to replicate. Butter contains natural fats that contribute to the cake’s rich taste and tender crumb. Margarine, on the other hand, is often made with vegetable oils and may contain added water, which can affect the cake’s texture. If you do choose to use margarine, opt for a high-quality variety with a high fat content for the best results.
Why did my cake turn out dense?
A dense Sand Cake can be a disappointing outcome, but several factors could be the culprit. One of the most common reasons is overmixing the batter. When you overmix, you develop the gluten in the flour, leading to a tough, dense cake. Be sure to mix the dry ingredients into the wet ingredients just until combined. Another potential cause is using cold butter that didn’t cream properly with the sugar. The butter should be softened to room temperature for optimal creaming, which incorporates air into the batter and creates a lighter texture. Lastly, ensure that your baking powder is fresh, as expired baking powder won’t provide the necessary leavening for a light and airy cake.
Final Thoughts
Sand Cake is proof that simplicity can yield extraordinary results in baking! With its crumbly yet tender texture and buttery richness, this dessert remains timelessly appealing across generations.
Whether you enjoy it plain or dressed up with toppings like powdered sugar or fresh fruit compote, this recipe ensures success every time you bake it—making it perfect for casual gatherings or special occasions alike.
For more classic recipes like this one, explore our Angel Food Protein Cake or Churro Cheesecake Recipe next!

